The First French Polish

Starting a French polish can be daunting. I'll show you what ingredients and tools needed to complete a piece, what the process is like, and how long it will take.
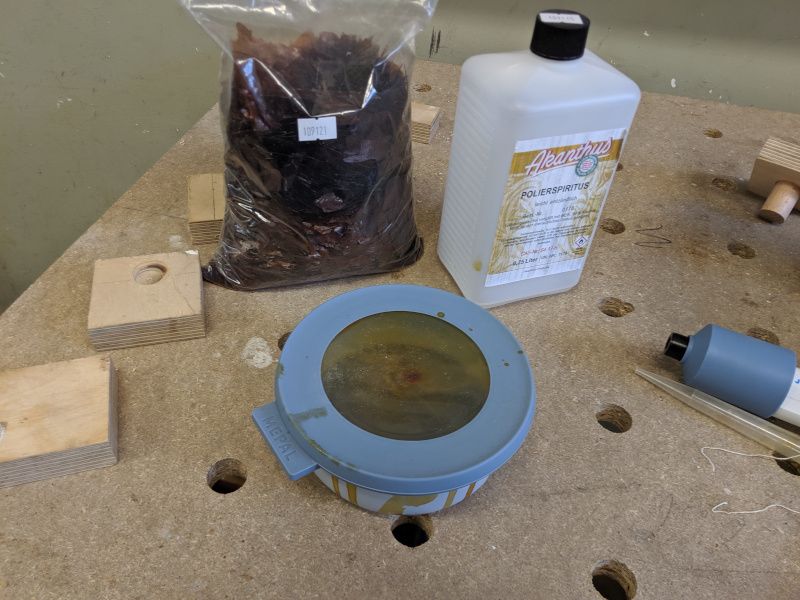
First, let's talk about the ingredients. Here's a list of all the things I got for the polish:
- pumice, I bought a 500g pack, that'll last forever
- shellac flakes, again a 500g bag will last for a while
- ethyl alcohol 99+ vol-%, for dissolving and diluting
- several small glass or plastic jars
- some linen, some cotton, and some wool pieces
- polishing oil, a clear mineral oil
- styrax resin (benzoin) solution
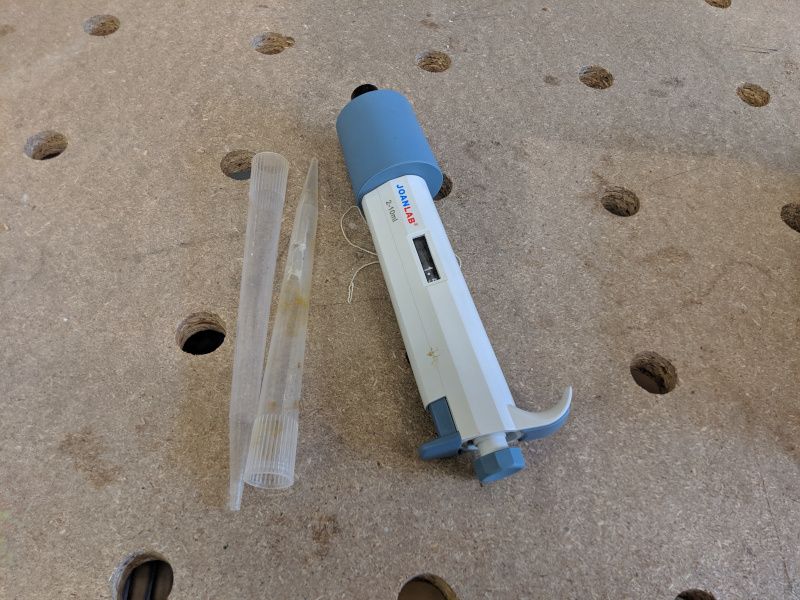
- measuring device, I use a micropipette
- 400 grit sanding paper
- a scale
The shellac coating happens in a four-step process. First, sand the object to 320 grit. The next step will use pumice and a thin shellac dilution to fill the pores. The piece will look slightly shiny, but the polish proper happens after that in the next step. The final step will clear all the rough places and marks of the polish. This last step is the styrax resin polish.
Preparing the Ingredients
I started by dissolving shellac flakes in ethanol, in a dilution of one part shellac on three parts alcohol by weight. Let this mixture sit for two to three days, shake it once per day, to make sure the shellac is well dissolved. Some people at this point recommend to filter the solution through an old sock to remove particulate matter from it, I didn't do this though. This solution is called the stem solution.
With the shellac dissolved, you're ready for the next step.
Cutting the Fad
The picture below shows two 'fads' in their jars. A fad is a three-piece bale of cloth that is used to apply shellac to the wood surface. The innermost piece is composed of wool (lambswool); this will act as a reservoir of shellac. The second layer is a sturdy piece of cotton. The outermost layer, in direct contact with the wood, is made out of coarse linen.
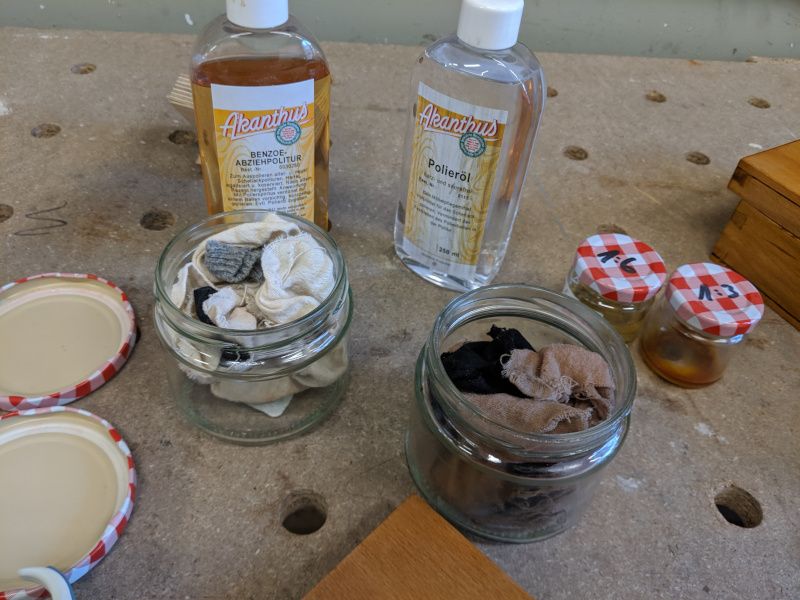
This composition of the fad is a tradition. I think it works well. My fads weigh approximately 25g, when not filled. Look at your hand and size the fad accordingly. The important thing about its size is that it fits your hand well.
Prepare three fads.
Filling the pores
In this step, we'll fill the wood's pores. Some wood species have larger pores than other species, so the process will vary by wood species. If you're refinishing an old piece of wood, the time it takes could be short, because the pores have already been closed. We'll use a fad with dilute shellac solution and pumice. The pumice is abrasive and combined with the shellac; this results in abrasion products that fill up the pores.
Make sure that the room you're polishing it in is reasonably heated. Anything from 20 to 24 degrees Celsius will work. If it's hotter, you'll experience problems, because the alcohol evaporates too quickly.
There are various recommendations on how to fill the shellac into the fad. I settled for a micropipette. The pipette allows me to put the same small amount of shellac solution in a quick and repeatable manner. But a syringe will easily do.
With the stem solution ready to go, we still need to dilute it further. For the pore filling, mix a 1:6 v/v dilution of stem solution and alcohol. That is 10ml of stem solution to 60ml of ethanol. Grab the first fad, fill it with shellac solution. The fad should always be cool to touch. It should not drip with the shellac solution. You can apply some pumice to the sanded surface, or you can dip the fad in pumice. Use circles and figure of eight movements to move the fad across the piece's surface. Use pressure to push the fad against the wood. You will notice when the fad is empty because it tends to stick to the wood. Refill it when this happens.
I did three pore fillings on three consecutive days. The pore-filling takes, depending on the size of your object, 15 to 30 minutes. After you're finished with the first pass, you need to let the piece dry for at least 24 hours. I usually start the next pore filling right on the next day. Before I do that, I give the object a quick touch with 400 grit sandpaper. Don't overdo it. It just needs a short pass with sandpaper. You might need to do more than three pore fillings, depending on the wood you're using.
The Main Polish
Now with the pores filled, it's time for the main polish. Prepare another shellac solution. This time it needs to be 1:3 v/v of stem solution in alcohol. That is 30ml of stem solution on 90ml of ethanol. Fill another fresh fad. This time, don't sand and don't use pumice. The surface should already be slightly shiny. Use the same process you used for the pore filling. Apply pressure and move the fad in a figure of eight patterns across the surface. Whatever you do, don't stop the fad on the wood. Always try to slide it off the surface. If you're in contact with the surface, keep the fad moving. You can use a drop or two of polishing oil to aid in moving the fad. Remove the oil later with the styrax resin polish.
I did three main polishes on three consecutive days. After every pass, the surface needs 24 hours to dry. You may want to do more than three passes, depending on the quality you want to reach. For the main polish, make sure you have a well-lit room, ideally with some light shining on the surface. You should be able to see the slight streaking the fad produces as it runs across the wood's surface.
The Styrax Resin Polish
I polished the wood, so I was sure that it now has a sufficient shellac cover, but it was not super shiny. Partly this was due to the polishing oil I used. The styrax resin polish at the end is optional but recommended as a finishing pass. Use the third fad and wet it with the styrax resin solution. Then with pressure, polish any streaks and smudges left on the surface until it has a high gloss look.
You should be left with a warm, high gloss surface that can last for a long time. But don't forget that this surface will be very delicate for a couple of months. Don't put it in direct sunlight and store it in a dry room. If you can stick to this, the finished object can last for a century.

Clean your shellac surfaces with a moist cloth or a specially designated high gloss polish. Old shellac surfaces can be resurfaced with a thinned shellac solution.